

.jpg)

Native Plant Seeds are Ideal for Winter Sowing
- ljmarkson
- Jan 14, 2021
- 3 min read
Updated: Feb 2, 2022
OR Tips for Winter Sowing Native Plant Seeds Using Foil Roasting Pans With Lids. Winter sowing is a way to germinate seeds by mimicking the way they would grow in nature. By sowing seeds outside in ventilated containers, the germination rate is increased and the seeds are protected from disappearing in the garden or being eaten by any number of hungry critters. This method is designed for seeds that need the cold and moist cycle of winter conditions (stratification) before they can break dormancy and sprout when nature tells them to.

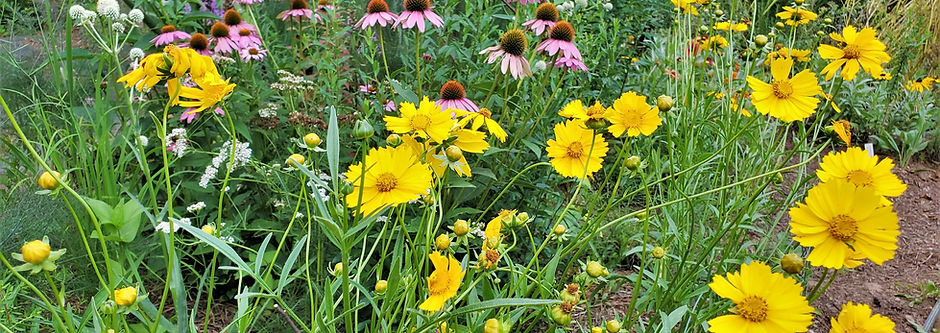
In the 20 years since Trudi Davidoff first coined the term, winter sowing has become wildly popular in gardening circles because it's not as fussy as growing seeds inside. It turns out winter sowing is a particularly ideal way to germinate native plants because they are growing in the regions where they would naturally exist; unlike non-native plants that would prefer to grow in the far away climates where they are from.

I now winter sow all my native seeds, including the warm season ones. They stay dormant in the winter and seem to know exactly when to sprout as the days get longer and the weather warms up. There are many great resources for how to winter sow. The main requirement is the containers be about 3-4 inches tall with drainage holes and a clear top with ventilation holes.

The most popular way to winter sow is using clear plastic milk jugs cut in half with holes poked in the bottom for drainage. The seeds are sown in the bottom half and duct tape secures the top. Preparing the jugs took me a long time because the plastic was thick and difficult for me to cut because I have weak hand strength. Storing and reusing the jugs so the tops and bottoms matched up was kind of a pain. I tried multiple containers for comparison and had a 85-90% germination rate with the foil roasting pan and a 60-70% germination rate with the plastic jugs. The roasting pan became my preferred method!

It's easy to quickly cut slits in the foil pans with a utility knife for drainage and poke holes in the plastic lids with a heated metal barbeque skewer, a small soldering iron, or a hot glue gun (without glue sticks in it) for ventilation. It's best to make the holes in the plastic outside because of the fumes. Someone also suggested stacking the plastic tops tightly and using stained glass lead came cutting knife to make slits in the baking pan plastic tops but I haven't tried this yet. The pans can easily be reused each year. Small sections of the plastic sometimes break and I just cover them with a little sliver of duct tape. As an added benefit, I can divide the pans to create more biodiversity by planting many varieties of native plants.


I somehow invariably get the plastic and wooden stick labels mixed up by the time I need to transplant the seedlings, particularly when multiple varieties are in the same container. The game changer for me was using waterproof labels on the container itself. I can print out the common and botanical name as well as growing conditions which makes it easier when transplanting. If you plant the same seeds each year, the labels don't fall off or fade.

For soil I fill the pan almost to the top with potting soil then add a thin layer of seed starting medium. I mix the seeds with coarse sand so they'll be more evenly distributed on. The list of what mediums not to use for winter sowing includes compost, garden soil, and mixes with fertilizers or moisture control added.
Native seeds can be sown a bit thick because this is the way they would naturally grow. Cover each seed according to the directions since some seeds don't even need to be covered. Sand is the best cover for the seeds but I often use the soil I'm planting the seeds in and it seems to work just fine. The general rule is cover to the depth of the thickness of the seed meaning tiny seeds barely need to be covered.

Cover the container with plastic and seal it with small pieces of duct tape at the corners and in the center of each side then set outside in a shady location.

Once you put the containers outside, there’s nothing else to do until spring. The hardest and most exciting part of winter sowing is just waiting until little green seedlings pop up!
